

How To Upgrade Your Laptop, Desktop or Computer’s RAM - Tech Talk
Published 18th November 2015 | Article by KingstonMemoryShop | Posted in Tech Talk
As you are probably aware, adding RAM is often the most cost-effective way to speed up your computer.
Even if your computer was super fast when you first got it, as new operating systems and programs require more and more memory your computer can quickly become sluggish.
We recommend that you have a read through this guide before starting. This way, you can make sure you have everything you need and are well prepared.
What do I need to upgrade my RAM?
- You may need a variety of screwdrivers, so we recommend getting a swappable-head screwdriver with various slots and heads.
- We also suggest that you get a spudger, which you can use to separate components without causing damage.
- Thin-nose tweezers will also be helpful for removing screws.
- Some new RAM! Use our Memory Configurator to ensure you get the correct memory RAM.
I’ve got everything. How do I fit my new RAM?
- Ensure your computer is unplugged and turned off.
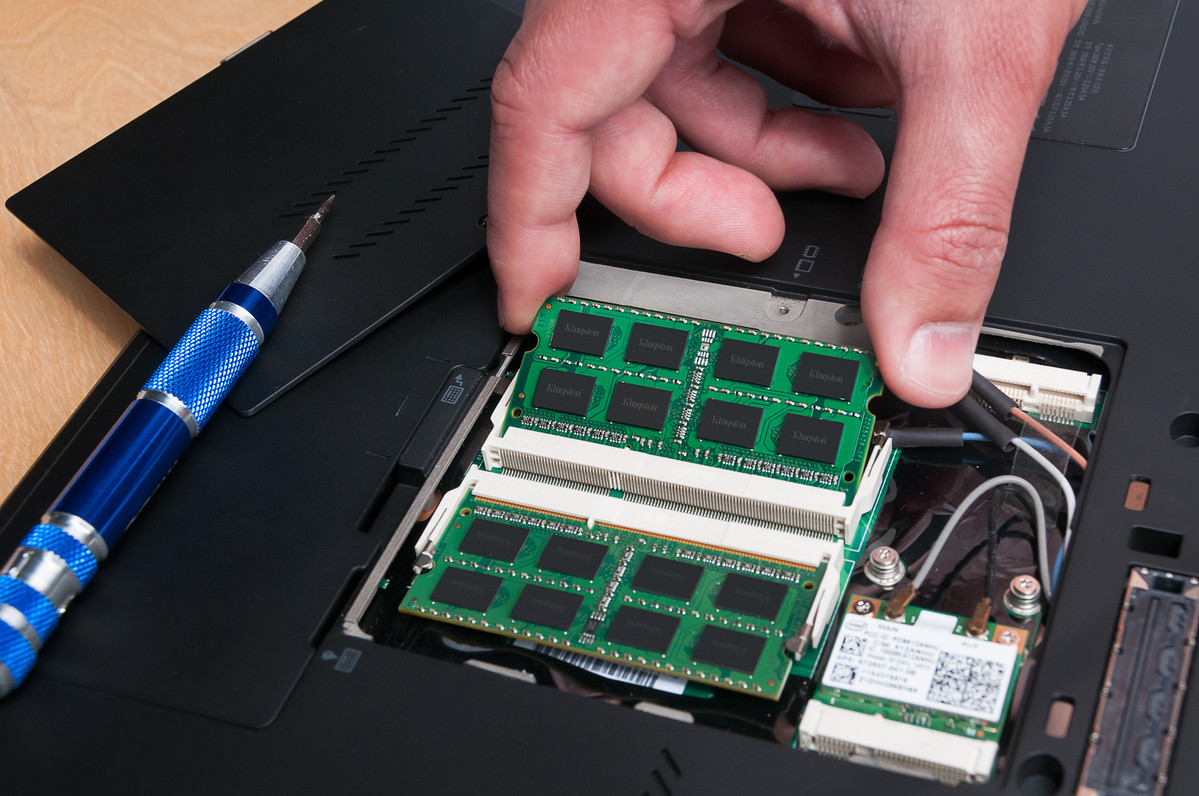
- Gaining access to the memory on your laptop or PC is usually just a case of unscrewing the panel housing on a Desktop that covers the tower, or removing a cover on the bottom of a laptop (see image above).
- In some extreme cases, you may have to remove the keyboard or even disassemble the whole unit on a laptop, but this is quite rare. Please consult your manual.
- Ensure there are no obstructions, such as power cables. This will make it much easier to insert your new RAM.
- If you need to remove an existing module, gently push the clips on each side of the socket. The RAM module will then pop up a bit and you can you will then be able to easily pull it out.
- Open the latches at both ends of the socket, by gently pushing them in.
- Remove your new RAM from its envelope.
- Note: Always handle RAM by the edges avoiding any chips or circuitry.
- Line up the notch at the bottom of the memory (see image below circled in red) with the corresponding notch in the memory socket and gently push it down into the socket. The latches at each side should then rise and lock. Don’t be afraid to push firmly if inserting DIMMs for desktops and listen for the positive click.
![]()
9. Reassemble your computer, ensuring all screws are back in place then power it up. Watch your monitor to ensure that the system recognises the new RAM. If your computer doesn’t recognise the new memory, restart it and enter the BIOS by repeatedly pressing F2, and ensure your BIOS is completely up to date. You may need to press F2 quickly as the boot up process can often be short. If the memory still isn’t recognised, turn your computer back off and unplug it, then open it back up and reseat modules ensuring that you have seated them correctly and clearing any dust that may be trapped between the module and the socket.
10. Enjoy your new, faster computer!
At Kingston Memory Shop, we have plenty of RAM options for all computer types.
To make the process as smooth as possible, you can find compatible RAM for your computer by brand and model number. We have dedicated pages for desktops, laptops, ultrabooks and netbooks.
If you would like further guidance, contact our team of memory experts who will endeavor to answer any questions.